THE BATTLE OF BOTHWELL BRIDGE 1679 |
|
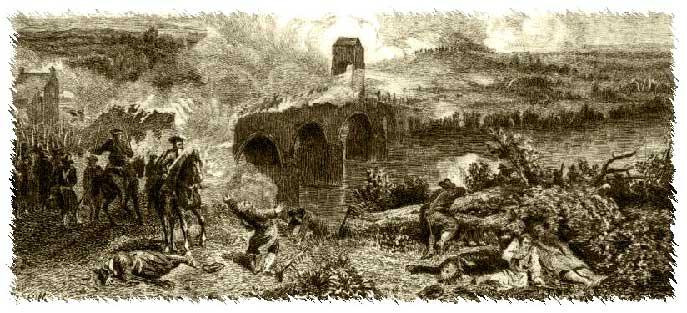
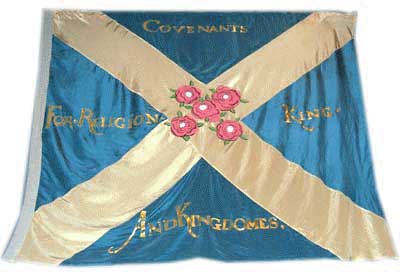
The duke of Monmouth, the illegitimate son of Charles II, given command of a force several thousand strong and marching from England to deal with the insurgence. The royal army was further reinforced as it advanced towards Glasgow by troops from Scotland. Monmouth had the support of several able military leaders, including Claverhouse, the earl of Linlithgow, the earl of Airlie, Lord Mar, and the earl of Home. Although the Covenanters had the advantage of position, they were not so numerous. In addition to this, disputes had broken out between the moderates and extremists, and the differences between the two sides threatened their unity as a fighting force. The moderates were prepared to attempt to negotiate with Monmouth, and two envoys were sent out to discuss terms with him. But when they returned with Monmouth’s request for the Covenanters to lay down their arms, the extremists would have nothing to do with it. A violent confrontation was inevitable. The two sides faced each other across the River Clyde, the Royal army, well disciplined, well armed and well organised, the Covenanters disorganised and demoralised by internal disagreement. Spanning the river between the two armies was Bothwell Bridge, which was held by a force of around 300 covenanters, most of whom were moderates. For more than two hours this gallant band of men held the bridge against the royal army, but they became exhausted with the effort and were running out of ammunition. Their pleas for reinforcements were not answered. No help came to them from the main body of Covenanters. When the order was given for them to fall back they had no choice but to obey. As soon as they fell back from the bridge, Monmouth began sending his army across. The royal artillery was moved across and from their new position on the Covenanters’ side of the river the cannons thundered out a deadly volley. Panic broke out among the Covenanters and they began to scatter. The horsemen of the royal army moved in amongst them, hacking at them indiscriminately and pursuing them as they fled. Several hundred were killed and more than 1000 were taken prisoner. The prisoners were force-marched to Edinburgh. Two ministers were hanged in the city. Five of the prisoners were taken to Magus Moor, where Archbishop Sharp had been murdered, and hanged. The majority of the captives were herded into an enclosure in the churchyard of Greyfriars, where they were kept under guard for several months. Exposed to the elements and denied all but the most meagre of provisions, many of them died. By November, a few hundred had been freed in exchange for a promise that they would never again take up arms against the king. Some had been fortunate enough to escape. Nearly 300 were sentenced to transportation to the West Indies. They were marched to Leith and crammed into the hold of a ship. In the cramped and airless conditions below decks, it is unlikely that many of them would have survived the voyage, but the ship did not get far. It was wrecked off the coast of Orkney and most of the prisoners drowned. It was only a relatively small number of Covenanters who kept up the armed struggle after the battle of Bothwell Bridge. These extremists, named Cameronians after their leader Richard Cameron, continued to hold secret meetings in the hills. Richard Cameron was killed in 1680, but his followers remained fixed in their purpose. In 1681, they solemnly excommunicated the king, the duke of York, the duke of Monmouth, and other government leaders. In 1684, they issued the ‘Apologetical Declaration’, in which they claimed justification for killing those who persecuted them, and as a result, faced further repression. This was the period known as the ‘killing time’, when many extremists were executed by members of the military commissioned to hunt them down. Gradually the resistance of the Covenanters was worn down. |
 |
Acknowledgment to the following book for exerpts used, Scottish Battles by Geddes & Grosset |
 |
© Paisley Tartan Army 2008-09